
How cute is it hiding next to our safe. Very spectacular and spooky. When people see it they are a little surprised. it is just realistic enough to surprise.

Last year my son gave me hard time about not decorating for Halloween. I scrambled for things to decorate with and promised him I would knock his socks off this year.
I started pinning a few months ago. So many cool idea's some easy some too creepy some too hard. I fell in love with a big mummy for sale online. I pinned it! But it was big, a little pricy, and had to be shipped. So I gave it some though and came up with the following idea... Trace my kids in Cardboard and whip up a frame to simulate a body with cardboard. Do it 2-D so I can store it in plastic sitting on top of the Halloween boxes in the basement.
This was really simple.
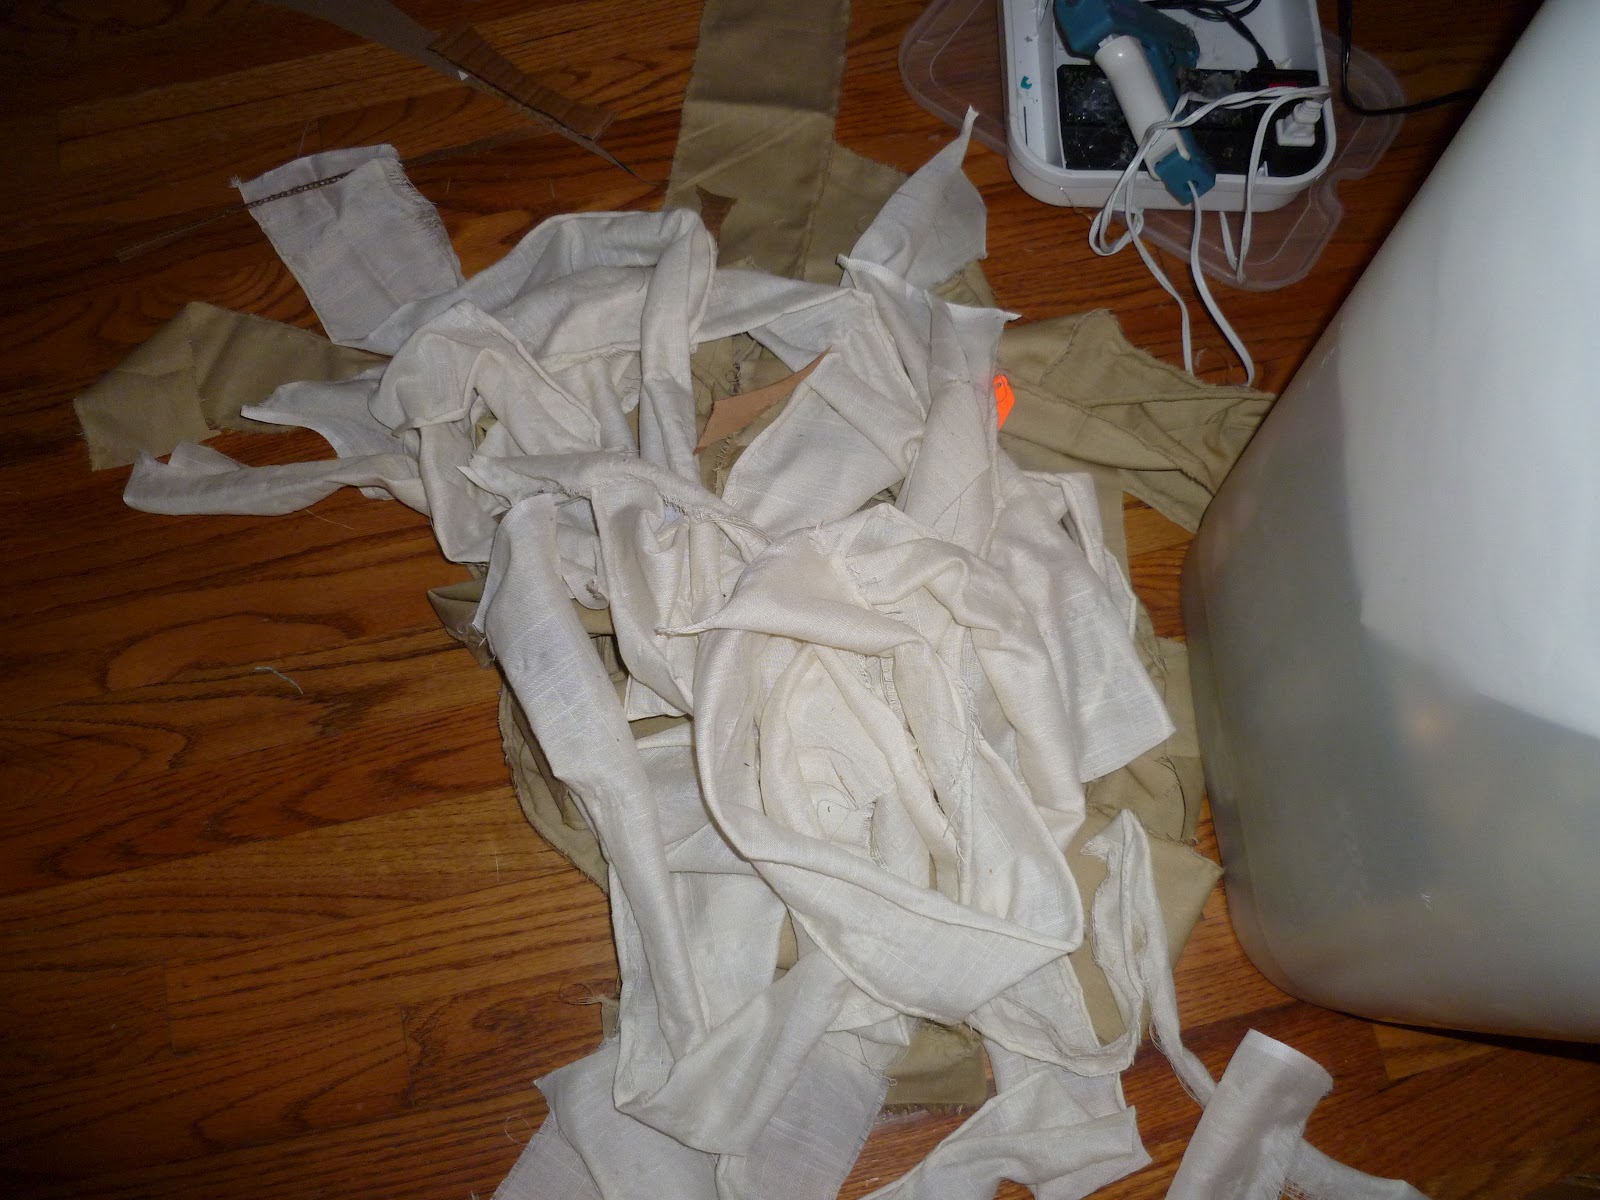
Step 1: I purchased fabric pieces at Denver Fabric from the by the pound bin. Total cost $4. I got a creamy color linen and a cotton that looked white gauze kinda. I snipped and tore all the fabric into strips.
Step 2: I laid the cardboard down on the floor and had my daughter lay on top of it like she was wrapped as dummy. Arms tight to her sides and legs and feet together.


Step 3: Cut out the body frame.
Step 4: create a half body frame with cardboard pieces and lots of hot glue. It is not perfect but hints at a body shape.

Step 5: Take a picture of my daughters face and print her eyes sized to add to the mummy frame. I pinched the nose a little on the center frame of the head. Not really 3-d but it looks a little more realistic for the eyes.
Step 6: Hot glue and creative wrapping of the new daughter mummy. This had me laughing so hard! My son declared "TOO SPOOKY" no mummy of him will be made. He isn't laughing.